How to Upload Multiple Images on Patron
In this article, I am going to demonstrate you lot, how to upload file in ASP.Internet MVC C# (you volition see both, unmarried or multiple files upload examples in ASP.NET MVC C# ), if yous are looking for prototype upload y'all can have a await at this question https://qawithexperts.com/questions/14/how-to-upload-prototype-in-c-mvc.
Let's empathise File Upload Nuts in ASP.NET MVC C#
During the file upload process, only ii parts of the MVC model interact with each other – a view and a controller. Allow's examine the file upload process step past pace:
- A user visits a web page with an uploader (represented by View) and chooses files to exist uploaded.
- When the upload is started, the uploader packs the files into a Mail request and sends this request to the server.
- ASP.Internet caches all data in server retentiveness or to deejay depending on the uploaded file size.
- ASP.NET MVC defines the controller and appropriate activeness method that will handle the asking.
- The activity method handles the request (for example, saves files on a hard disk, or updates a database, etc.) through the
Controller.Requestbelongings, which gets theHttpPostedFilesBaseobject for the current request. - ASP.NET MVC sends an answer to the client through
Controller.Response.
You tin configure file upload settings by specifying appropriate attributes in the web.config (or car.config if you want to make server-wide changes). Allow'southward see what attributes are used to limit the file upload:
-
maxRequestLength– the asking size limit in kilobytes (the default value is 4096 KB). -
requestLengthDiskThreshold– the limit of data buffered in the server memory in kilobytes (the default value is 80 KB). -
executionTimeout– the immune execution time for the request before being automatically shut downward by ASP.NET (the default value is 110 seconds).
All these attributes should be specified in the <httpRuntime> section.
Single File Upload in ASP.NET MVC, Step by Footstep Implementation
Now let'southward create a Project in Visual Studio to upload file
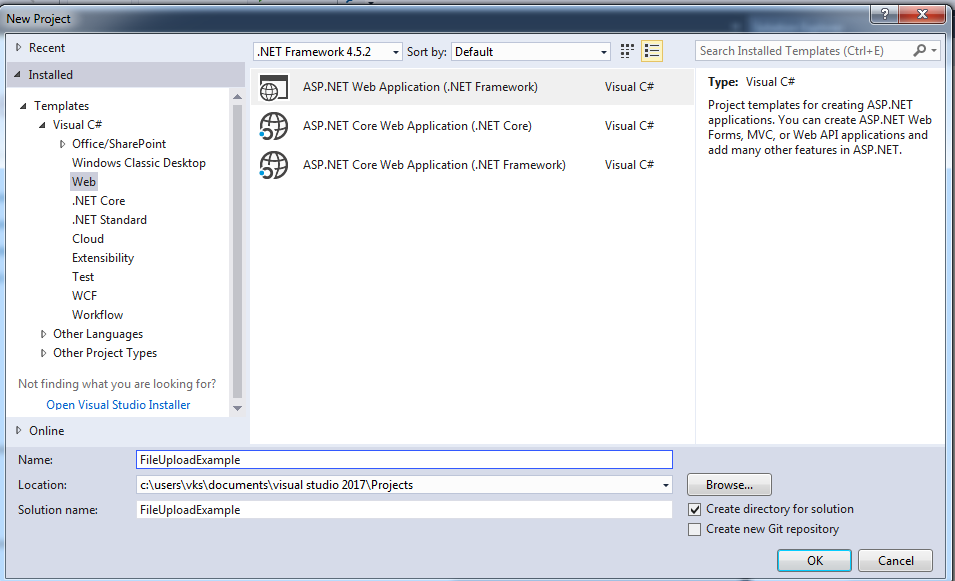
- Go to File->New->Projection. Give a suitable proper noun to the Application. Click OK.
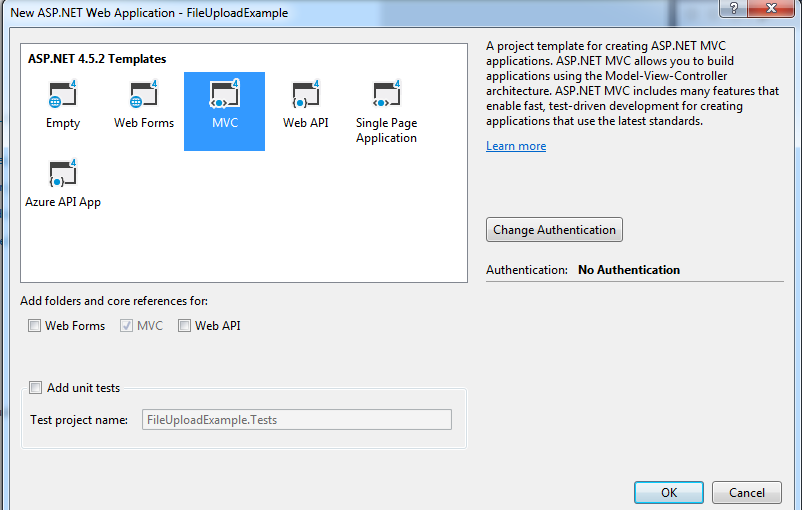
- Select MVC Template from it
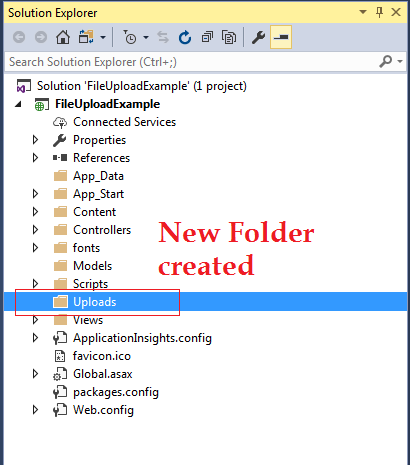
- At present Let'southward add together a folder to upload files on this Folder of the project.
- At present allow's Add together a controller (
UploadFileController) and the Code in it to handle post request and handle File Upload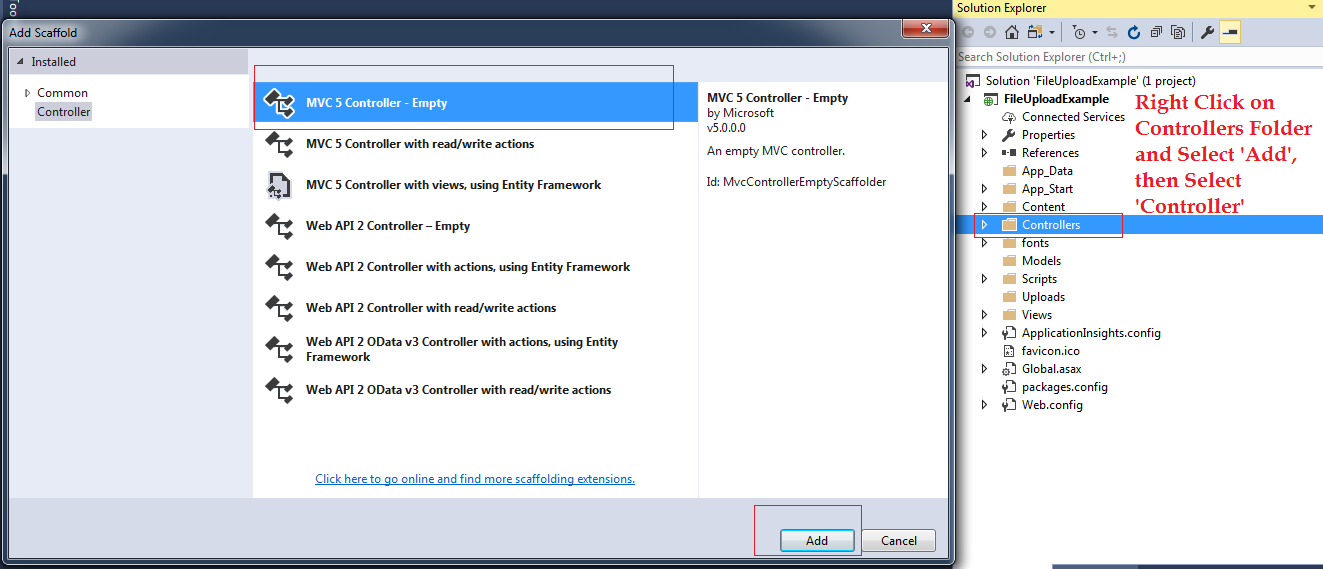
Click on 'Add' and so proper name it (UploadFileController), add together this lawmaking now
[HttpPost] public ActionResult Upload(HttpPostedFileBase file) { if (file != null && file.ContentLength > 0) try { //Server.MapPath takes the absolte path of folder 'Uploads' cord path = Path.Combine(Server.MapPath("~/Uploads"), Path.GetFileName(file.FileName)); //Relieve file using Path+fileName take from above string file.SaveAs(path); ViewBag.Bulletin = "File uploaded successfully"; } catch (Exception ex) { ViewBag.Message = "ERROR:" + ex.Message.ToString(); } else { ViewBag.Bulletin = "Yous have not specified a file."; } return View(); }Note: You may demand to Add
System.IO referencein the above Controller - Add the Alphabetize View (Right click inside Index ActionMethod and then 'Add' View), for creating File-upload handler in HTML, and then add the lawmaking below to in your view
<h2>UploadFile</h2> @using (Html.BeginForm ("Upload", "UploadFile", FormMethod.Postal service, new { enctype = "multipart/form-data" })) { <label for="file">Upload File:</label> <input type="file" proper name="file" id="file"/><br><br> <input type="submit" value="Upload"/> <br><br> @ViewBag.Message }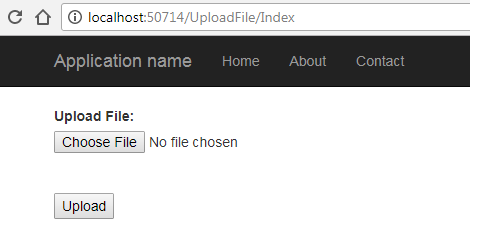
Higher up paradigm shows the output of the View.
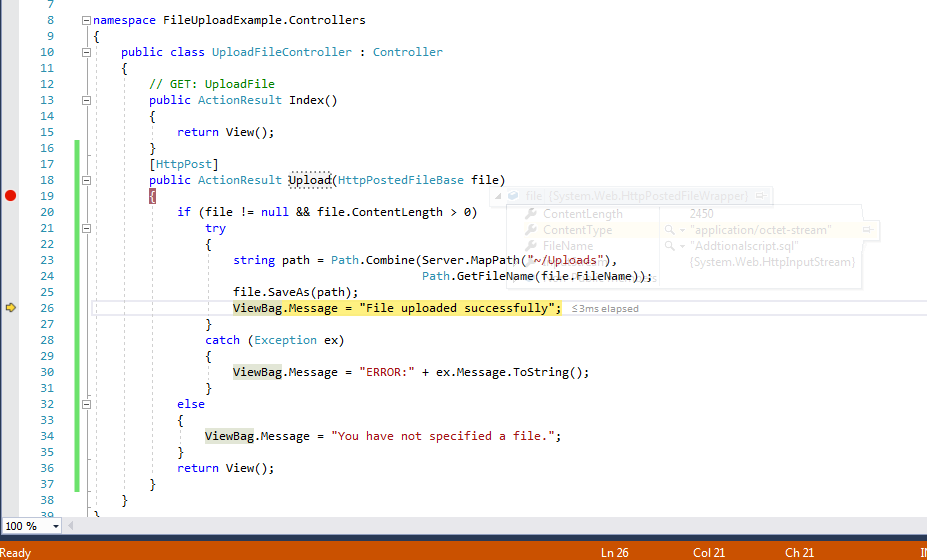
Note: Ever remmeber to add "enctype = "multipart/course-data"" in your HTML grade, if you forget to write this piece of code in your HTML, your files will non be submitted on the C# controller. - In you browser view, browse a file using 'Choose File' push button and endeavor to upload a file by clicking 'Upload' button, hither is the debugging screenshot of file uploading, which shows, file was uploaded successfully
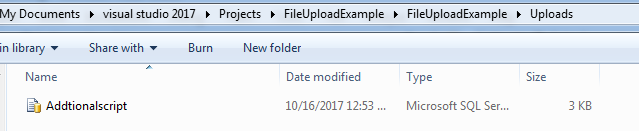
That's you are done, check the 'Uploads' Folder in your project, you lot should plant the file in that location
Note: The above code doesn't implement any security, you should scan your uploaded file using Viruses for amend security
Multiple File Upload in ASP.Internet MVC C#
The above example shows to upload single file in asp.internet MVC, then basically we would have to loop multiple file uploads in C# code, while in front make our HTML to multiple files, here are the changes which you need to do in C#
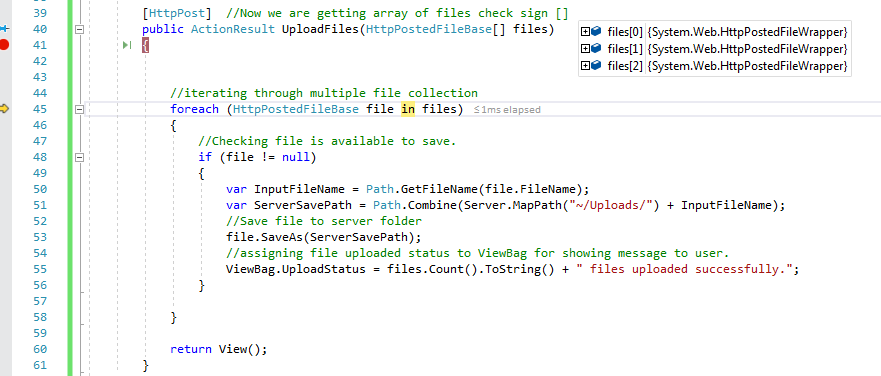
[HttpPost] //Now we are getting array of files check sign [] public ActionResult UploadFiles(HttpPostedFileBase[] files) { //iterating through multiple file drove foreach (HttpPostedFileBase file in files) { //Checking file is available to relieve. if (file != null) { var InputFileName = Path.GetFileName(file.FileName); var ServerSavePath = Path.Combine(Server.MapPath("~/Uploads/") + InputFileName); //Salve file to server folder file.SaveAs(ServerSavePath); //assigning file uploaded status to ViewBag for showing message to user. ViewBag.UploadStatus = files.Count().ToString() + " files uploaded successfully."; } } render View(); } In the in a higher place code, since we are uploading files at in one case, we are passing HttpPostedFileBase array of files, then iterating each file using foreach loop, and saving file on server folder ("Uploads").
In HTML/View udpated .cshtml code will be similar below
<br/> @using (Html.BeginForm("UploadFiles", "UploadFile", FormMethod.Post, new { enctype = "multipart/form-data" })) { <div class="grade-horizontal"> <div form="form-group"> <div class="col-lg-2">Browse Files</div> <div class="col-doc-10"> <input type="file" multiple name="files" id="Files" /> </div> </div> <div form="grade-grouping"> <div form="col-md-offset-2 col-medico-x"> <input type="submit" value="Upload" class="btn btn-chief" /> </div> </div> <div class="course-group"> <div class="col-md-offset-2 col-dr.-x text-success"> @ViewBag.UploadStatus </div> </div> </div> } if you lot volition discover, nosotros have just added multiple an aspect in <input blazon='file'>above HTML code, to go far select multiple files, here is the sample View epitome
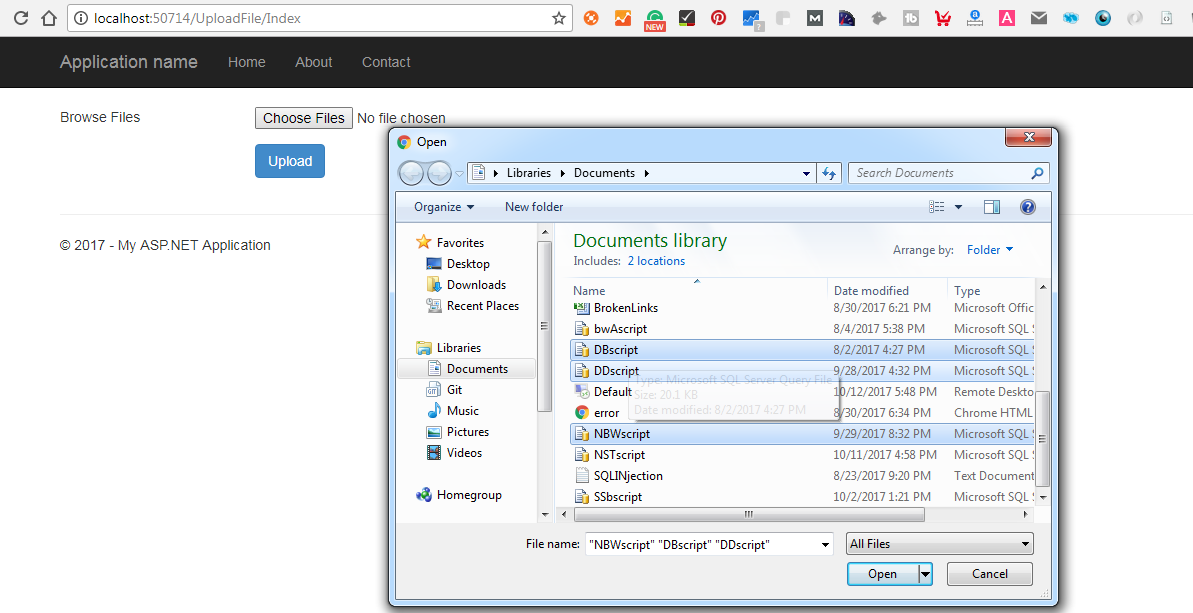
Afterward selecting all file and clicking on Upload, here is the image of Controller while debugging, you lot can meet we have got 3 files in Controller this time
That's it, we are done.
You may also like to read
File uploading using DropZone js & HTML5 in MVC
File Uploading using jQuery Ajax in MVC (Single or multiple file upload)
File upload in ASP.Net Core MVC (Single or Multiple files)
That's it nosotros are done, feel costless to post your comments on the above article or ask any questions related to file uploading in ASP.NET MVC.
Source: https://qawithexperts.com/article/asp.net/uploading-files-in-aspnet-mvc-c-single-multiple-files/67
0 Response to "How to Upload Multiple Images on Patron"
Enregistrer un commentaire